Graduation Dessert

Wednesday, February 29, 2012 0 comments
Red Velvet Baked Alaska
Red Velvet cake with cream chesse ice cream, toasted meringue on top, with chocolate cookie crumbs, whipped cream, chocolate sauce, fresh raspberries, and although not pictured here, raspberry sauce.


This dessert is the one that my class partner and I designed for a project in the class that I just finished.  The point of this project was to determine how much we had learned about plating desserts and to pick a dessert to be served at our graduation.  To my absolute delight, my dessert has been chosen! So my parents and everyone else's families will be eating a dessert that I helped to design at my graduation from the AOS program at the Culinary Institute of America!

The dessert most likely will not be plated exactly as above because that may be difficult to make 300 of them for the graduation, but it will include all of my components most likely in a slightly different orientation.  

Either way, exciting news! (:

Love in a Pie Shell

Friday, February 24, 2012 0 comments
Strawberry Rhubarb Pie


This recipe has been being made by my grandma since the beginning of time... or atleast since my mom was younger (same thing, right?).  And it's phenomenal! It's my mom's favorite pie and a pie that I always think of these two women who have inspired me for years.  My momma of course inspires me everyday with everything she does.  She's crazy! She works a ridiculous amount of hours yet has still managed to have been around for so much of my life and to have made it to everything that matters from school events, to proms, to my little brother's football games.  She does everything!  She also managed to back to school while taking care of two kids at home and working so that she didn't graduate with an insane amount of loans.  To say she impressed me would be a bit of an understatement.

My grandma... wow, where to start?  She's an amazing woman.  Right now, she's fighting cancer which is hard on everyone and yet she still manages to be bright and excited to hear about what's going on in my life everytime I talk to her, which I can imagine is very difficult.  She's also one of the reasons why I gained such a love of baking.  When I was little my mom would take my brother and I to grandma's house on Sundays and we would have breakfast and then spend time at grandma's.  At the time, whenever I would bake with grandma, she always used to say that I had the "Angel's Touch," of course she tells this to all of the grandkids, but i don't know, something about it all just stuck.  I love it and I love them.


Strawberry rhubarb pies.  Above are gluten free, reduced calorie, my control, and sugar free.  All of the above recipes turned out perfect and absolutely delicious.  The gluten free was difficult to work with, atleast the dough was, but it turned out in my opinion the best pie.  

Control
Filling:
6 g Vanilla extract
230g Sugar
24g AP flour
60g Unsalted butter
206g Strawberries – diced
206g Rhubarb – diced
6g lemon juice
4g Lemon zest
4g salt


For the filling, just combine all the ingredients and place it in the pie shells.  You could use a pre-made pie shell or if you're feeling adventurous, you could make your own.  


Pie Dough:
190g AP flour
138g Butter
½ t salt
½ t sugar
4 T water

This dough is made by rubbing together the flour, salt, and sugar, and the butter until the butter is in pea sized pieces.  Next add in the water and mix just until the dough comes together.  Wrap with plastic wrap and refrigerate for 1 hour.  Then you can roll it out and do with it what you please.


Bake Love, Not War <3

Ella's Bellas-- Beacon, NY

Thursday, February 23, 2012 0 comments
A few weeks ago, a shop called Ella's Bellas in Beacon, NY did some promotional work at a shop down the street.  Ella's Bellas is a gluten free bakery which also does salads and delicious soups.  It has recently opened and thus far has found itself many patrons and people who come back bringing with them family and friends.  Ella's Bellas is not just for the gluten intolerant however, even myself who has no issues consuming gluten or wheat would gladly eat one of the sweets sold at EB.  Carley Hughes does wonderful things in a baking niche that is not the easiest to work with.  In my opinion, her chocolate chip cookies or Gingerbread cookies (which i'm currently finish one of (: ) are most definately my favorites of the things that I have eaten.

For this event, there was a display of Fruition Chocolates, Pie-sicles, Macaroons, and mini cupcakes.  It was held in a women's clothing shop on Main Street.


These heart shaped piesicles are perfect for an all women's event.


Black raspberry shortbread cookies with what is basically the gluten free version of a mudslide cookie in the middle.

Fruition Chocolate:
These chocolates are from a shop in Shokan, NY.  They  are made from bean to bar, which is a process that not many places  bother with.  This process gives Fruition chocolate a flavor that cannot be purchased one that can only be created.  This chocolate is definitely worth the money and time.


French Macaroons:
Almond macaroons filled with buttercream, chocolate and what I believe to be jam in the center.  Delicious!

Top 6 tools used in baking

Monday, January 30, 2012 0 comments
This blog is based off my friend Garrett's list.  His list is the Top 5 tools to have in your knife kit, not including knives.  This list is similar in that way, but his is pretty specific to culinary where as I felt that was incredibly different for a baking student.  This is why I chose to make my own list.

I felt that there were 6 things that I considered to be necessary in a basic baking event.  Not to say that there aren't more tools I would love to have, but these 6 I have deemed vital.


Offset Spatula

For me, an offset spatula is wonderful for plating, cake filling and decorating as well as many other items.  Offsets help to level items, smoothing and allow for careful clean and specific decorative work.

Rubber Spatula

Rubber spatulas are most useful for clean work, stirring while making meringues which are used for so many things while baking.  It's vital to most chocolate work unless you have a tempering machine, which are pricey and typically are not in most bakeshops.  

Thermometer with Timer

A good thermometer!  This is completely necessary.  Timers help for obvious reasons but are also good for mixer times and proof times, etc.  Many baked goods require a temperature, especially meringues, ice creams, creme anglaise, etc.  All of these things, if not temperature checked hold a huge risk of not working out properly.

Bowl Scraper

I love bowl scrapers, they're useful for just about everything in baking.  You can use them for scooping doughs out of a mixing bowl, for folding mixtures together, for getting all of the yield out of a pastry bag.  All of these things are incredibly important to baking.  Yield is a major point in making money in this industry.

Whisk

There are many varieties of whisks: balloon, flat whisks, dough whisks, etc.  For me, their value is in mixing, aeration, and even combination of different components of a baked good.  

Piping Tip Set

Piping tips are needed for decorative display of individual cookies, cakes, writing on anything, whipped cream, etc.  They also allow for similarity between any two items of the same variety, and make the job of decoration easier than if it had been done without the tips.

This is just a short list of items that I have deemed necessities for a baking and pastry student.  Pastry is very specialized to the more specialized a job becomes, different tools become important.  One of my past pastry chefs told me that equipment was made to make our jobs easier, so the most important tools to me are the ones that make my job as easy as possible without making myself obsolete.

Bake Love, Not War <3 

Bake me up a piece of that...

Sunday, January 29, 2012 0 comments
So , this weekend, my friends and I decided that we wanted to bake.  Since we've been in bread's class, we haven't been getting the satisfaction that comes from working on a product from start to finish; therefore, we decided to bake and make dinner.

First we started the Hasselback potatoes, which you may have seen the recipe for online if you frequent Pinterest and StumbleUpon like myself. (If you do not, you should start!)  The potatoes needed to go in first and since we're in a production kitchen setting, we were able to have two ovens.  


Hasselback Potato
6 potatoes
2 -3 cloves garlic
2 T olive oil
30g butter
tt sea salt
black pepper

-          Flat side down, cut almost all the way through, 3 -4 mm intervals
- garlic between slits; butter on top; drizzle oil and sprinkle salt and pepper
 bake 40 mins at 425 F


nutrition facts: 1 potato; 6 servings
236 calories
38 carbohydrates


Once the potatoes went into the oven, we started on the chicken fingers.  Between the four of us, we made a ridiculous amount of chicken because there was a sale! But we made an assembly line to dip chicken in flour, eggs, then crackers.  We used Saltines but they are more commonly done with Ritz or a similar buttery flavorful crackers.  

I highly recommend making your own dips for the chicken fingers once they're baked.  My personal recommendation is ranch dressing and hot sauce.  (:


Baked Chicken Finger
4 chicken breasts
2 c saltines
tt Italian spices
tt salt
tt pepper
2 eggs
1 cup flour
1 T water
tt Frank’s Red Hot
-flour with salt and pepper
- eggs with the red hot and water
- broken up saltines and spices
- chicken, flour, egg, and crackers
- bake  (350 F) on rack on sheetpan until golden brown


Yield: 16 pieces
nutrition facts:  3 pieces – 5 servings
424 calories
39 carbohydrates


This is our dinner setting! Steam fresh green beans from a bag served as a wonderful, fresh and healthy vegetable.  

Angel Food Cake was dessert that evening.  We made it from scratch and when you flip it out, you're supposed to flip it out onto sugar, which honestly was the best part! 


ANGEL FOOD CAKE
Whites                  454 g
Vanilla                   7g
Sugar                     228 g
Cream tartar                      1 t
Salt                         ½ t
Sugar                     228 g
Cake Flour                           170 g

Whip the sugar and the egg whites with the cream of tartar.  
Once that is whipped high and white, fold in the sugar, salt and cake flour. 
Then bake at 350 for 45 minutes.


Then we made frozen yogurt from Chobani yogurt.  

Strawberry Frozen Yogurt
720g (4.3 containers) Chobani Yogurt
150g (3/4 c) sugar
vanilla extract
-          Mix ingredients together and refrigerate mixture for an hour
-          Spin ice cream


Yield: 1 quart
nutrition facts: ½ cup serving; 8 servings
178 calories
39 carbohydrates


Hints
*For the potatoes, be sure the garlic is sliced thin, or you get a big bite of garlic!
*Put large butter slices and be sure there's plenty of oil if you want nice crisp potatoes.
*The yogurt comes out tasting very tangy depending on your flavor choice, so if you want, you can add up to 1 cup total of sugar.

Bake Love, Not War. <3

Warmth in a bowl... a BREAD bowl!

Wednesday, January 18, 2012 0 comments
Today was just another day of class, except for the fact that we made BREAD BOWLS! You know, like they do at a couple of those delicious chain restaurants where they make a ball of dough, score it bake it off and pull out the middle.  What's better on a cold day than a hot cup of soup in a bowl that I can eat?

We made our bowls out of Sourdough which adds a strong and wonderful flavor to whatever soup, pasta, or chili that you decide to fill it with.  For my class, our TA made chili.  She puts jalepenos and sausage in her chili which was honestly fantastic! On top, we each could add whatever we wanted, and I opted for sour cream, green onion, and cheese, because honestly, what could be better?!?

At the end of the day, the sour dough turned out adorable! And the chili was amazing, best lunch I could have asked for. (:


Tips:
* We took scissors and cut a slit in each side of the dough, this has two purposes, one it allows the gases to escape from the bread while it bakes causing there to be no obvious seams, and two it looks like a small handle when your bread is finished baking!
* We cut the top off of the finished bread and scooped out the centers, if you're not careful, you can take out too much center leaving you with a bigger cavity so come hungry! 
* Each of our bread bowls were made of 250 grams of dough which translates to approximately 8 ounces.  For our needs, this was more than plenty big with each of them being about 3inches across.  If you want them to be larger, use more dough!
* Be sure to roll them tightly because if you don't, the bowls will be flatter as opposed to being higher, so enjoy yourself and see what deliciousness you can fill yours with! (:

Bake Love, Not War (:

Challah for your breakfast (:

Tuesday, January 17, 2012 0 comments
At the Culinary Institute of America, baking students take a class called Specialty Breads class in their second year.  This class makes many different breads including sourdough, multigrains and best of all enriched doughs like Challah.

At the end of the day, we can often bring home loaves that are excess and that will either be snacks or some creation for our weekend meals.  This past weekend, my friends and I decided to make French Toast but with a spin on it.  I wanted to make Banana stuffed French Toast with a Struesel Topping.  I found the recipe from Restaurant: Zoe, NYC.

This is my friends helping to soak and make the the streusel topping for the french toast.


Banana-Stuffed French Toast with Streusel Topping

Serves 6

2 tablespoons plus 1/4 cup ( 1/2 stick) unsalted butter
2 tablespoons plus 1/2 cup sugar
2 tablespoons water
2 large ripe bananas, peeled, cut into 1/2-inch-thick rounds
1 1-pound unsliced loaf egg bread, ends trimmed, bread cut  into 6 slices (each about 1 1/2 inches thick)
2 cups milk (do not use low-fat or nonfat)
6 large eggs
2 1/2 teaspoons ground cinnamon
1/4 teaspoon vanilla extract

1 1/2 cups thinly sliced almonds, toasted
1/4 cup (packed) golden brown sugar
1/4 cup quick-cooking oats
2 tablespoons all purpose flour

Maple syrup
http://www.epicurious.com/rd_images/primaryContent/recipe_detail/rd_buckets_divider.gif
preparation
Melt 2 tablespoons butter in heavy large skillet over medium heat. Add 2 tablespoons sugar and 2 tablespoons water and stir until sugar dissolves. Continue stirring until mixture is foamy, about 2 minutes. Add bananas; cook until tender, stirring occasionally, about 5 minutes. Transfer to small bowl; cool. (Can be prepared 4 hours ahead. Cover and chill.)

Preheat oven to 350°F. Using small sharp knife, cut 2-inch-long slit in 1 side of each bread slice, cutting 3/4 of way through bread and creating pocket that leaves 3 sides of bread intact. Divide banana mixture equally among pockets in bread. Whisk milk, eggs, 1/2 teaspoon cinnamon, vanilla and 1/2 cup sugar in large bowl to blend. Pour into large glass baking dish. Place bread in egg mixture; let soak 10 minutes, turning occasionally.

Place almonds in shallow bowl. Carefully remove bread from egg mixture and coat both sides with almonds. Place bread on heavy large baking sheet. Mix brown sugar, oats, flour and remaining 2 teaspoons cinnamon in medium bowl. Add remaining 1/4 cup butter and rub in, using fingertips, until moist clumps form. Sprinkle topping over bread.

Bake French toast until topping is golden brown and filling is hot, about 25 minutes. Transfer toast to plates. Serve hot with maple syrup.


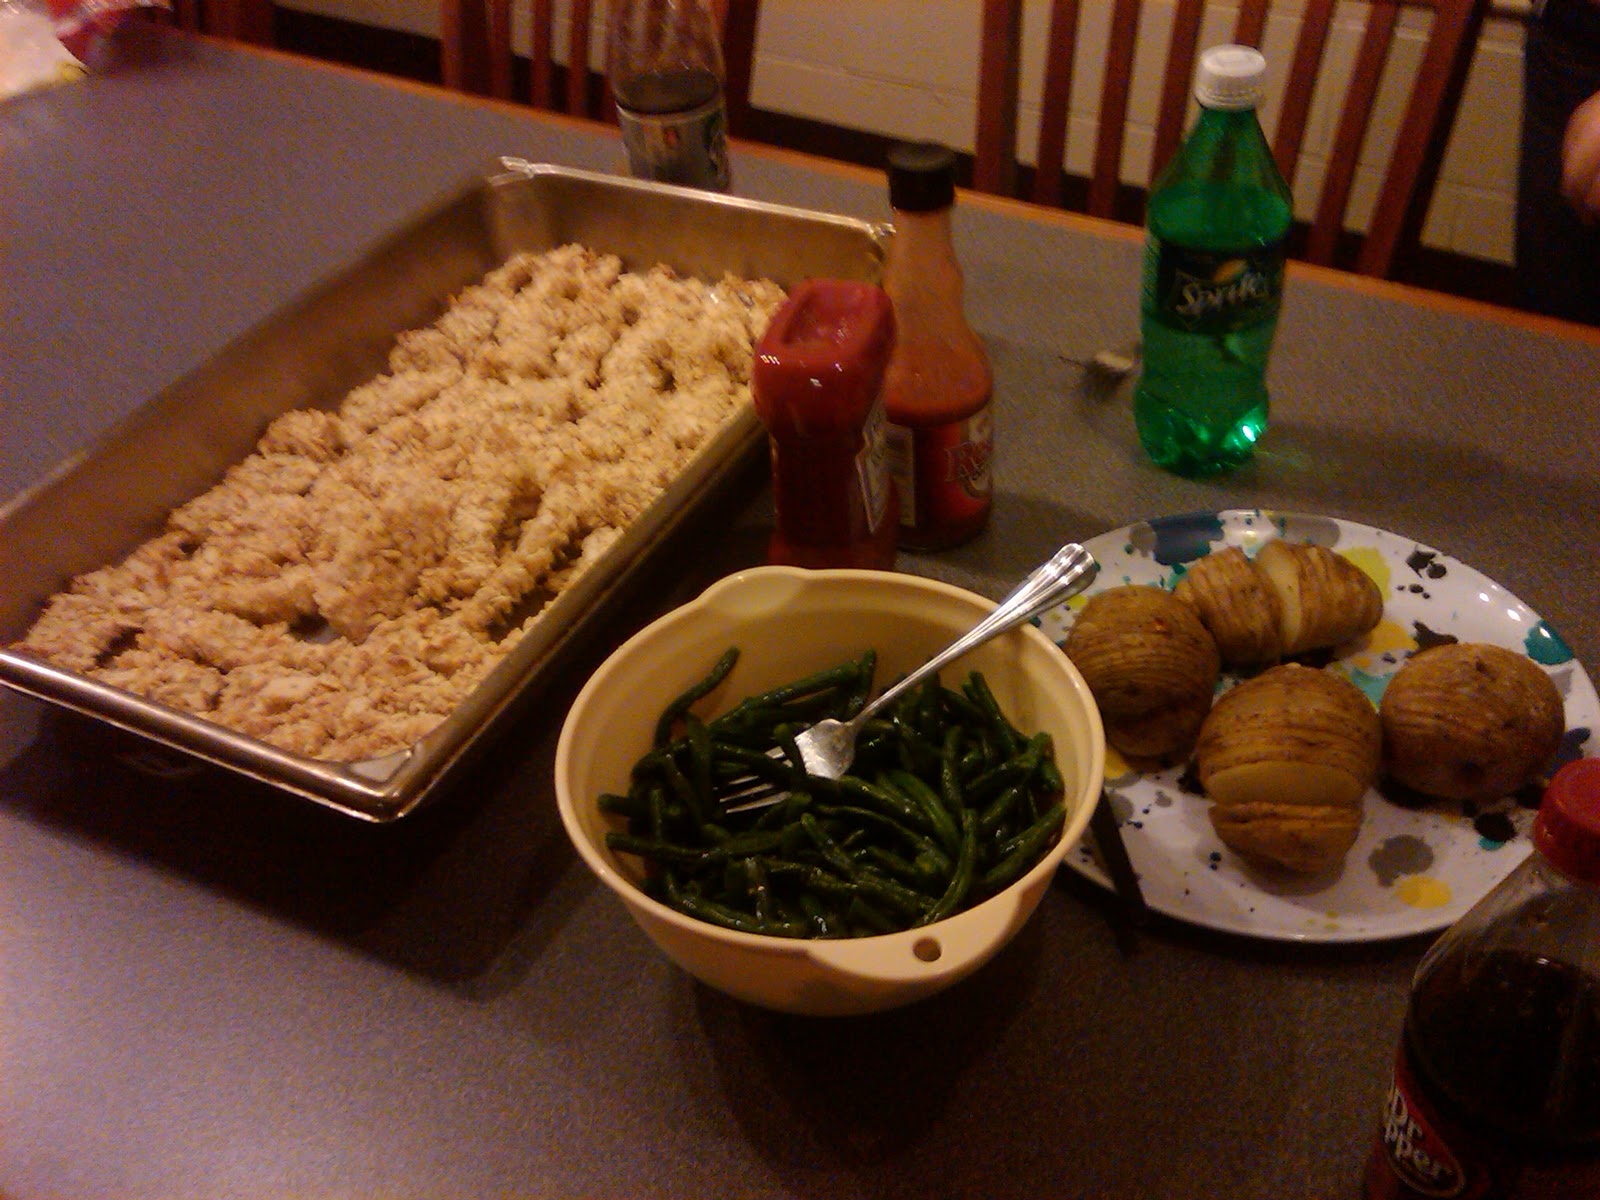
Unfortunately, this is the final picture of the french toast, a picture that was taken right before they went into the oven.  When they came out, they were devoured too quickly for me to snag a picture. (: 

This was a winner, which definately means that as a group, we're doing apple stuffed french toast next weekend.  (:   Winning!!!

Tips:
*Cut the slices of the unsliced bread to a thickness of at least 1 1/2 inches or the slits will break and be less easy to fill.  If they break however, they will go back together in the baking process.
*Be sure to spray the pan that you bake the french toast in, they stick to the pan really easily.  
* If it's not possible to get a bread that doesn't come pre-sliced, you could always use the banana filling as a topping instead, but use less butter because it's a bit too much for a topping! 

Bake Love, Not War <3